If your kitchen is in need of a facelift, one of the best ways to get started is by giving your cabinets a makeover. It can be as simple as switching out cabinet knobs and handles or sanding down that old varnish, but it can also be more complicated such as removing and replacing them. This will require removing some components from the wall and ceiling. We’ll share some helpful tips on how to remove old kitchen cabinets for a new look.
What is the Process for Removing old Kitchen Cabinets?
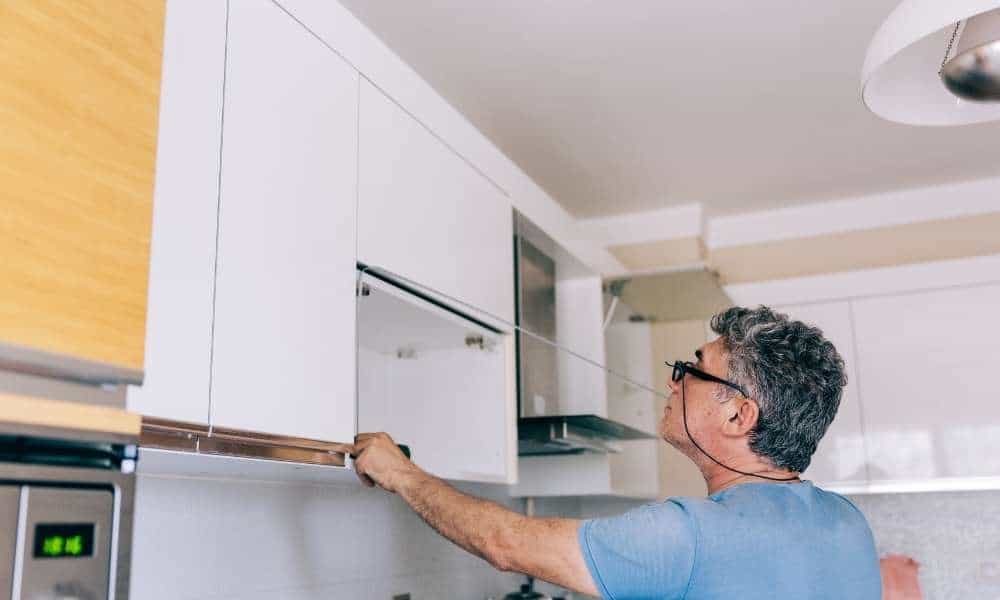
The first step in removing old kitchen cabinets is to remove any existing hardware like hinges and door handle from the doors. You can do this by using a screwdriver. Next, you’ll need to remove the old cabinet from the wall and then disconnect the supply lines for the sink and any other appliances. It’s likely that there will be a few screws or nails that may be holding it in place. Once you have removed all of the screws, you can lift up that door and set it on top of your other doors.
If you’re taking down an entire row of cabinets, it may make more sense to move them as one unit rather than as individual doors. To do this, you’ll need to remove the baseboard trim on either side of each cabinet so they can be pushed out with ease. If there are power cables in your way, be sure to disconnect them before moving your cabinets out of place.
Now we’ll discuss how to remove old kitchen cabinets in a little more detail…
Disconnect Electrical and Plumbing Lines
Before you remove old kitchen cabinets, disconnect all of the plumbing and electrical lines that are attached. Drill holes in the drywall to run your new lines through as necessary.
Remove Hardware from Cabinets
Start by removing the hardware from all of your cabinets. This is usually accomplished by unscrewing the screws or pulling on the handles until they come free. Once you have removed all of the handles, it’s time to remove the cabinet doors.
Remove Doors and Drawers
If your cabinet doors and drawers are not in good shape or you want to start from scratch, removing them is the first step. You can use a screwdriver to remove the nails that hold them in place.
Finish up and Enjoy Your New Kitchen!
Cabinets can seem like a daunting project but the benefit of having new cabinets is worth it. Once you get started, you’ll have a new kitchen in no time. And once you’re done, there’s nothing better than enjoying your new kitchen with friends and family!
What are the Benefits of Removing old Kitchen Cabinets?
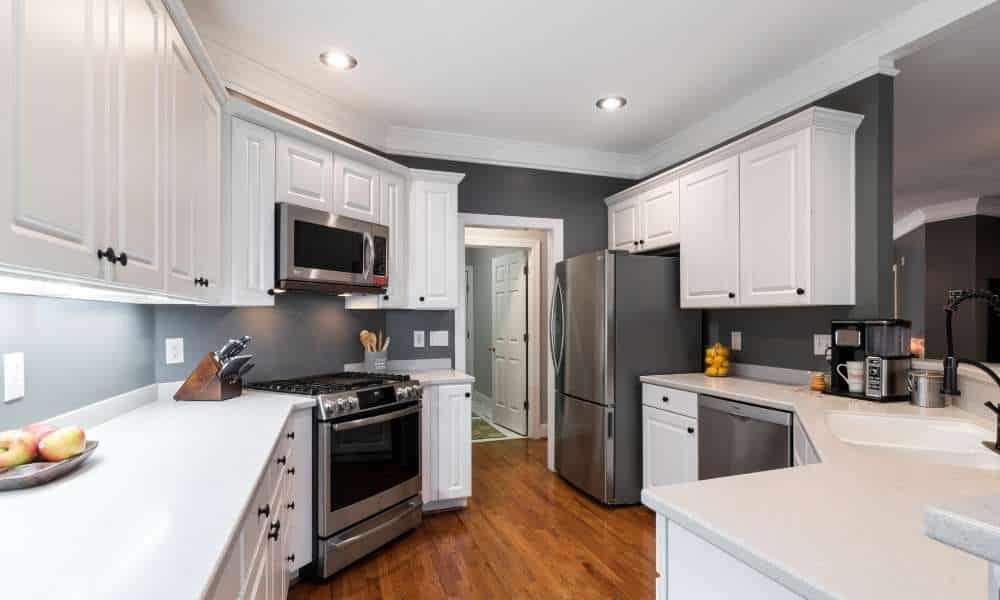
There are many benefits to removing old kitchen cabinets and opening up the space. For one, it can help you make a bigger visual impact with your kitchen’s design. Removing existing cabinetry can also give you more options for what to place in your kitchen. You’ll be able to put items that were previously hard-to-reach or awkward to store on the top shelves of your open cabinet. This can help you create more storage space for things like pots, pans, and dishes so that they’re not cluttering up your countertops.
What Should you Know Before you Remove your Old Kitchen Cabinets?
Before you remove your old kitchen cabinets, make sure you know what’s going to happen. You’ll need to carefully remove the doors and drawers, then carefully remove the cabinet from the wall. You’ll also need to plan on removing any other objects that might be attached to the wall or ceiling such as lights and ventilation ducts. If you’re not comfortable doing this yourself, hire a contractor who can take care of it for you.
How to Care for your new Kitchen After Removal of the Old Cabinets
Now that your old kitchen cabinets are gone, you might be wondering what’s next. You can either leave the walls and ceiling as they are or you can add new drywall and paint to create a fresh look. It all depends on your budget and time. If you’re looking for a quick fix, we recommend adding new drywall and painting. This will cover the seams where the cabinet used to exist and give it more of a modern feel.
To start, measure the width of the wall where your old cabinets were installed then cut a sheet of drywall to size with a utility knife. Next, measure from one corner to the opposite one so that it lines up with the other side of the room at both ends. Once it’s in place, use screws to attach it to your existing studs or anchors if applicable.
Next, add some sparkle to any holes or cracks in your wall then let it dry for about three hours before painting it with primer paint.
If you want something more durable than just new drywall, remove any nails or screws left on top of your cabinets before installing new ones then cover them up with wood filler or spackling compound using a putty knife until everything is nice and smooth again (you’ll need two coats). Then sand down any rough edges before priming and painting!
Remove the Cabinets from the Walls and Ceiling
The first step is to remove the cabinets from the wall and ceiling. This can be done by unscrewing a few screws, removing the hinges, and unscrewing some more screws. Be sure to use a level to ensure that the cabinets are level with one another.
Once you’ve removed all of the cabinets, it’s time to clean up the area where they were. You may need to remove nails or other old hardware from the walls or ceiling before installing new cabinets.
Now you’re ready for installation! Read on for instructions on how to install new kitchen cabinets.
Conclusion
Removing old kitchen cabinets is a great way to make your kitchen a more functional, enjoyable place to be. It can also make your kitchen easier to clean and give it a cleaner look. If you’re ready to transform your kitchen, contact a contractor. They can remove the old cabinets and install new ones for you. More


